Pages

Showing posts with label Side dish. Show all posts

Sunday, April 15, 2012

Crispy Tortilla Strips


I mentioned these Crispy Tortilla Strips in my last post about Fajita Soup. These little tortilla strips tasted deliciously naughty. Basically, I made homemade junk food.

There were two key reasons why these little bits of yumminess tasted like restaurant food:
  1. Plenty of oil
  2. Lots of salt.
I have made these both seasoned and plain with some salt. The seasoned version is far superior.

I have a few tips to make this recipe successful:
  • Layer the strips in a single layer. Any portions that are covered will not get crispy. A second baking sheet may be needed.
  • These strips go from perfectly crisp to totally burnt in moments. When they are done, immediately remove the baking sheets from the oven and take the strips off the sheets. Even the extra heat from the baking sheet can take the strips over the edge of doneness to burnt.
  • I suggest a fairly high oven temperature. These can be baked at different temperatures. The higher the heat, the less time required for perfect crispness. If you do dare for a higher oven temperature, make sure to watch the oven and be ready when the strips are done. Enjoy!


Crispy Tortilla Strips

3 corn tortillas, cut in half then  1/4 inch strips *
1-2 tablespoons canola oil
1/4 teaspoon smoked paprika
1/2 teaspoon cumin seed
1/4 teaspoon kosher salt
  1. Preheat oven to 400 degrees Fahrenheit.
  2. In a mixing bowl, combine all ingredients.
  3. Spread tortilla mixture evenly on a baking sheet, making sure no strips are overlapping.
  4. Bake 5-7 minutes or until crisp.
  5. Remove immediately from the oven and off of the baking sheet. Serve warm.
* I have only tried this using corn tortillas and do not know how well flour tortillas would work.

Wednesday, November 9, 2011

Spring Rolls


I love, love, love our spring rolls! One, these rolls are delicious (which I will discuss further, of course) and two, Z. is the person who introduced me to spring rolls. He kept talking about these little rolls that he would occasionally get when he went out or more often, procure from the Safeway hot deli. So, curious I tried a spring roll and loved the crispy, flaky wrapper and the delicious vegetables. Eventually, we started making our own. I still remember the first time we made spring rolls. We were in my tiny little kitchen in Eugene and Z. had driven down to spend the weekend with me.

Spring Roll v. Egg Roll

I am not entirely sure of the differences between a spring roll and an egg roll. As far as I understand, spring rolls will probably have a vegetable filling and egg rolls will have meat. I do know the wrappers are very different. A spring roll wrapper is very delicate and becomes slightly flaky when cooked. When we have used spring roll wrappers we have used two wrappers. For these pictures, I used wonton wrappers because I could not get my hands on spring roll wrappers. I have never found spring roll wrappers at the conventional market, only at the Asian market. I decided to try wonton wrappers this time. I do not think there is any turning back. I was able to brown the rolls very easily and quickly. The moral of the story is I am calling these spring rolls.

What Makes these Spring Rolls Special?
The combination of vegetables. We keep the filling very simple but use tasty, flavorful vegetables. I like a combination of cabbage, shredded carrot, and scallions. The white parts of the scallions add a mild onion flavor without overpowering the rest of the filling. The green parts of the scallions add a fresh almost herbal flavor.  


Bean threads. The bean threads add another layer of texture. And, something happens to the flavor when the cabbage and the bean threads combine. They are great together! 


These rolls can be frozen and made at a later time. Place the rolls on a baking sheet in a single layer and place in the freezer until frozen. Then, the rolls may be placed in freezer bags or stacked in a container. Particularly when using the wonton wrappers, this is the best way to store uncooked rolls. I tried stacking the uncooked rolls in a container layered with waxed paper. The trapped moisture made the wrappers gooey and very hard to work with. If I had initially frozen the rolls, I would have avoided this problem. Enjoy!

    Cheap Not Frugal Eats Spring Rolls

    Note: The amount of vegetables will depend on the number of rolls you would like to make. Extra filling can easily be turned into a stir-fry.

    1 package spring roll wrappers or wonton wrappers
    1/2 green cabbage, chopped 
    3 carrots, grated
    1/2 bunch scallions, chopped
    Bean thread noodles
    Red chili flakes to taste
    Kosher salt
    Canola oil for frying
    1. If wrappers are frozen, set out at room temperature until thawed.
    2. Meanwhile, heat 1-2 tablespoons oil in a large high-sided skillet. Add cabbage and cook, stirring occasionally, until tender. Add carrots and scallions, cook until warm. Season with chili flakes and salt to taste. Set vegetable mixture aside to cool.
    3. Prepare bean noodles according to package directions.
    4. When vegetable mixture is cooled, begin assembling spring rolls. Make sure not to over-stuff the rolls. Place a portion of bean thread noodles on a wrapper (if using spring roll wrappers, consider using two wrappers for each roll). Then, place a portion of the vegetable mixture on the noodles. Wrap like a burrito, using a little water to moisten the edges to seal.
    5. If not cooking right away, place in a single layer on a baking sheet and place in the freezer until frozen. They may be stored or cooked.
    6. To cook, heat 2 tablespoons oil in a skillet. When hot, place rolls in the skillet, leaving space between each roll. When browned on one side, flip. Try to brown on all sides. Serve plain or with dipping sauce of your choice.

      Wednesday, May 25, 2011

      Recipe Review: Spoon Bread

      Source: Vegetarian Times, 11/2007

      I have a spiral notebook where I keep copies of recipes that I would really like to try. I am slowly making my way through them. This recipe of Spoon Bread has been in my notebook for quite some time, even before my new-found fascination with cornmeal.

      I do not have much to share except that I quite liked this dish and will be making it again. The recipe calls for 1 teaspoon of salt. That is too much for my taste; 1/2 teaspoon is about right for me. I made a substitution with the milk. The recipe calls for 1 cup of milk, a reasonable amount, even in my cheap book. I do not have any milk and it is just too expensive right now for me to buy it but I do always have half-and-half for my coffee in the fridge. Since the milk was going to be baked, anyway, I used 1/4 cup half-and-half and 3/4 cup of water. This seemed to work just fine for me.
      Cornmeal
      From top left clockwise: eggs, butter, salt, and baking powder
      Half-and-half and water combination
      Milk and egg mixture
      Cooling cornmeal and baking powder
      Ready for the oven!
      Yum! Loved the smell of this baking.

      Sunday, February 27, 2011

      Potato Pancakes


      It has been awhile since I last shared a recipe. The last recipe was this delicious meal from a few weeks ago. Lately, Z. and I have been busy cooking new dishes and perfecting some of our favorites. Z. made an absolutely amazing chana masala last weekend, one of our new standby dishes that Z. has been playing around with the flavors. All of his versions of chana masala have been delicious but this has been my favorite. I think if I keep bugging him he'll share the secrets of his spice blend with me. Z. and I also made our first basmathi pulao. We have also been busy canning! So far, we have pickled two types of garlic, one batch is seasoned with herbs and cayenne, while the other is a plain pickled garlic. We pickled a few jars of Serrano chili peppers as well. I can't wait to try all of them.If you are curious about what we are cooking between posts, check out the Cheap not Frugal Eats page on Facebook.

      In the midst of canning and cooking chana masala, I made potato pancakes one evening for dinner. Both Z. and I loved the crispiness of the outside. Exactly what we were going for! I purposefully made the potato pancakes very thin. To measure the potato mixture, I used a measuring spoon I have that holds two tablespoons. I tried three tablespoons but found that I could get a much thinner pancake with two tablespoons. After I spooned the mixture into the pan, I flattened it out slightly with the spatula or my fingers. I made another change to suit our tastes. Traditionally, onion is grated into the potato mixture. I knew we wanted the potatoes crispy, so I left the onion out and incorporated it in another way. We sauteed onions and green bell peppers in olive oil on the side and topped our pancakes with the vegetables and a little cheese. The potato pancakes are crispiest right after you make them but the leftovers still made a very yummy lunch for me the next day. Enjoy!

        
      Potato Pancakes Cheap not Frugal Eats-Style
      3 large potatoes (a starchy variety, such as Russet)
      2 tablespoons flour
      1 egg. lightly beaten
      salt and pepper, taste
      Canola oil, for frying

      1. Peel potatoes. Place peeled potatoes in a bowl of water to prevent browning. Grate using either a box-grater or a food processor. If grating by hand, place shredded potato in a bowl of water to prevent browning. When all potatoes are grated, drain water, and squeeze out as much moisture as possible. Follow this step even if using a food processor to grate the potatoes. Transfer potatoes to a mixing bowl.
      2. Add flour, beaten egg, and pepper. Mix until combined. I prefer to add the salt after the potatoes have cooked.
      3. Heat a non-stick skillet over medium heat with a tablespoon or so of canola oil. When hot, for each pancake place 2-3 tablespoons of the potato mixture in the pan, not crowding the pan. Flatten with a spatula and let cook until underside is golden, about 3-4 minutes, flip and cook until golden. Remove from pan and season with salt. Continue process with the rest of the potato mixture. If not serving right away, place on a warm plate and cover loosely with aluminum foil. Serve with sour cream or topped with sauteed onions and peppers.

      Saturday, January 22, 2011

      Warm Lentil Salad: My Lentil Journey

      My experience with lentils prior to college consisted of opening a can of lentil soup, and warming up the can's contents, most frequently in the microwave. I mention the microwave because I feel the need to point out I was too lazy to wash the dirty pan. Once I got to college, now responsible for buying my own groceries, I was on the prowl for ingredients that were healthy to start with, quick cooking, and could easily be carried home. I left my car back in Wyoming that first year and mainly walked to and from the grocery store. I left a household that had 1.3 vehicles per person and walking the dog was the only reasonable explanation for walking outsides (hiking while hunting is not walking, that is a spiritual experience). So plodding a few blocks, much of the time in precipitation, carrying some bags seemed like a whole lot of work. I was lazy, I know. I bet a shiny nickel that someone, I'm not going to say who but their name might start with a Z, will make a sarcastic remark later about how this is still true.

      Obnoxious boyfriends aside, my family's dinners normally consisted of (still do) grilled steak, most often wild meat killed by my dad or younger sister, a form of potato or boxed flavored rice, and vegetables. This was not how I envisioned or desired to cook for myself. Lacking a computer at  home, or even the foresight to do some online research, I spent a lot of time wandering the nearby grocery store aisles looking for inspiration and ideas. Eventually, I had a rough outline of what the cheapest items were and how willing I was to eat those items. One of these ingredients was lentils. Lentils became a staple in my pantry.

      My lentil adventures had humble origins: a pot of boiled lentils. In an effort to not be so boring, I figured out I like my lentils, still intact, with chunks of fresh tomato. I thought one day, since I enjoy tomatoes and balsamic so much, I might like my lentils and tomatoes tossed with some balsamic.Why, yes, the balsamic was enjoyable. Why not add a drizzle of olive oil and some salt? I thought I was onto something. While I enjoyed many bowls of lentils and fresh tomatoes with balsamic vinaigrette, this dish didn't pass the Sharing Test. While I was perfectly content to eat my concoction for an occasional meal, I would not serve it to anyone or share the recipe. I could do better. Since tomatoes were so good, wouldn't other vegetables be yummy, too? I know, duh, right? I found bell peppers, cucumbers, carrots, onion, and a touch of fresh garlic, in addition to the tomato and vinaigrette was my favorite combination. Now this I could share with others.

      I began to get burnt out on my lentil salad. I started thinking about what was dampening my lentil salad enthusiasm. I needed a lentil salad when buying tomatoes, bell peppers, and cucumbers was not an option. If I couldn't get those vegetables, I would use extra carrot. All that raw carrot was getting boring. One day I decided to lightly saute my carrots, onion, and garlic as the lentils were finishing cooking. I combined the warm vegetables and warm lentils with the vinaigrette. It was great!

      Since then, I have enjoyed Warm Lentil Salad many times thinking I was being clever. Well, I have read a lot since the first warm lentil forays and have discovered I'm not original at all. The French have been doing a warm lentil salad for quite some time. I came to a dish on my own that a great food culture had already figured out. I am okay with that.

      P.S. Warm Lentil Salad is great on its own or can be served over rice for a more complete meal. Enjoy!

      Ace's Warm Lentil Salad Ingredients

      Diced vegetables
      Vinaigrette waiting to be whisked. Trust me, if you combine them all at the same time, it will be thick and smooth.

      Balsamic Vinaigrette

      Sauteed vegetables  waiting to meet the love of their life: Balsamic Vinaigrette
      Lunch: Ace's Warm Lentil Salad


      Ace's Warm Lentil Salad
      1 cup brown lentils
      3 cups of water, enough to cover the lentils
      1 carrot, diced
      1/4 onion, diced
      2 cloves garlic, minced
      2 1/2 tablespoons olive oil
      3 tablespoons balsamic
      1/2 tablespoon Dijon
      salt
      1. To cook lentils: Bring water to a boil, add lentils, a pinch of salt, reduce heat, cover. Simmer until desired texture. I like a little of bite still left, which takes about 12 minutes of cooking. Drain well and set aside.
      2. While lentils are cooking, prepare vinaigrette. Place vinegar, 2 tablespoons olive oil, Dijon, and about 1/8 tsp of salt (or to taste) in a bowl. Whisk until smooth and combined. Set aside.
      3. Heat 1/2 tablespoon olive oil over medium or medium-low heat. Add onion and a pinch of salt. After onions have cooked for a minute or two, add carrots. Turn down heat if still at medium. Saute for another minute or two, add garlic. Saute until garlic is cooked..
      4. Combine lentils, vegetables, and vinaigrette. Adjust salt to taste and add pepper if desired. Enjoy!
      Price Breakdown
       .39 lentils (.89/pound)
      .08 carrot
      .08 onion
      .06 garlic
      .23 olive oil (purchased on sale + coupons)
      .21 vinegar
      .03 Dijon (Trade Joe's brand)

      Total: $1.08

      Wednesday, January 12, 2011

      Dinner for One: Creamy Garbanzo Soup and Tomato Bruschetta

      I knew that I would be spending the evening alone, while Z. slaved away at work until late tonight. Normally, on nights like this I take out a can of free (thank you coupons) soup and heat that up. Well, those are all gone. Why am I eating canned soup? Laziness and I had them; I know the soup we make ourselves is way better. I wanted something creamy and smooth that wouldn't take forever to prepare. I started by looking for inspiration in Best-Ever 400 Budget Recipes. I found it in their Bacon Chickpea Soup recipe. I modified it to work with what was in my pantry and my goodness, am I glad I found this recipe. I'm sure I have already professed my love for garbanzos before, let me refresh your memory. I love beans! And I love garbanzo beans! I've seen several versions of soup that I am dying to try that centers around garbanzos but none of them threw the soup into the blender. I was concerned that this would turn into warm, thin hummus. Warm hummus is great, take a look at this recipe but I didn't want to drink it. Trust me, this didn't taste like hummus, this was delicious, creamy soup (without any cream!).

      To go along with my soup, I made tomato bruschetta since roma tomatoes are on sale in my part of the world for $1.00 per pound. My recipe calls for 2 teaspoons or less of balsamic, depending on your taste. Being a vinegar-holic, I may or may not have added extra so I could drizzle a little extra on my bread. I took the step to peel my tomatoes. I figured that they needed a little extra care and attention since it is January, definitely not tomato season. Also, peeling the tomatoes meant I could play with my food longer. I love fresh basil. I think it is absolutely delicious. Why, yes, it is impossible for me to talk about food without using superlatives. I have never purchased fresh basil. I did happen to have a bunch of fresh parsley in the fridge. I really enjoyed the parsley in the bruschetta. I will be doing that again.
      Creamy garbanzo soup ingredients

      Waiting to be blended

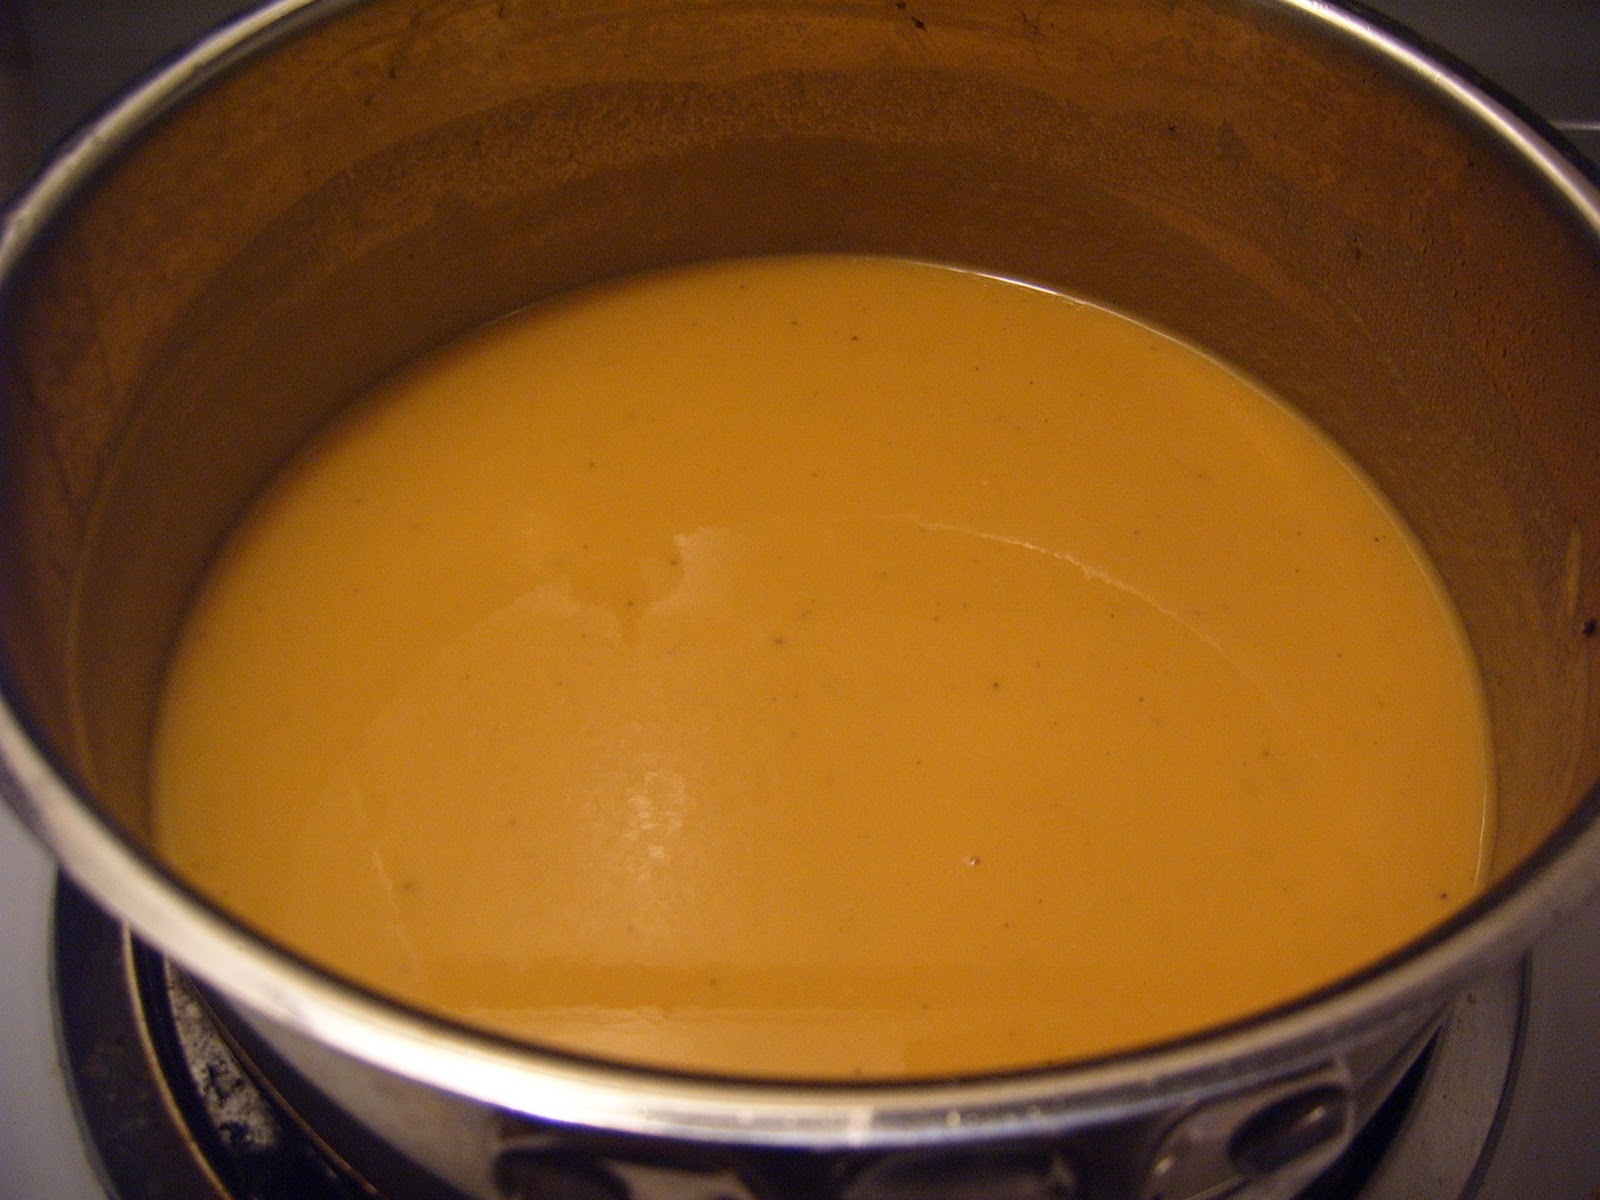
      Creamy garbanzo soup waiting to be reheated. Yum!

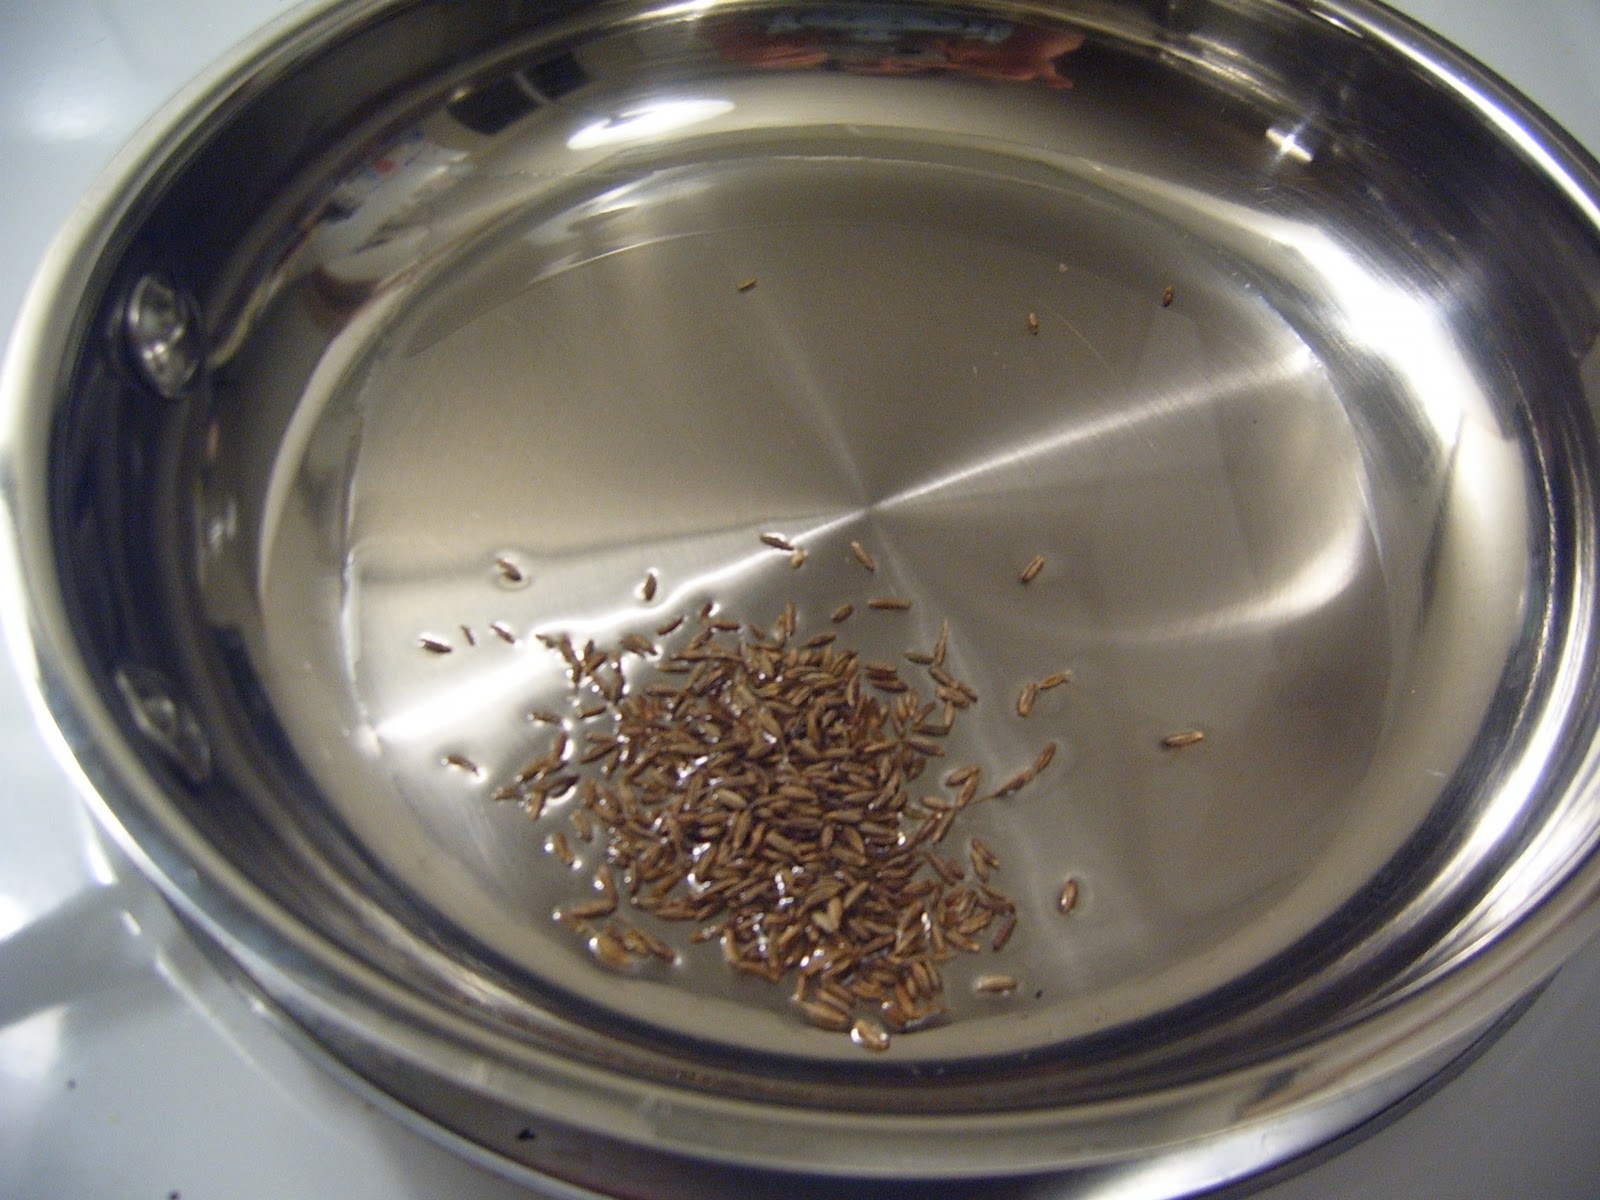
      Toasting cumin seeds

      Finished soup


      Creamy Garbanzo Soup (serves 2)
      1 can garbanzo beans, drained and rinsed
      1 can (14 oz.) vegetable broth
      3 cloves garlic, finely diced or grated
      1 carrot, finely diced
      1/2 onion, finely diced
      bay leaf
      1/8 teaspoon turmeric
      salt and pepper
      water

      Garnish
      2 teaspoons oil
      1 teaspoon cumin seed 
      1. Heat some olive oil in a sauce pan over medium-low heat. Add carrots and onion with a sprinkle of salt and black pepper. Cook for about 5 minutes, add garlic, and saute for another five minutes, or until vegetables are beginning to soften. 
      2. Add drained and rinsed garbanzo beans, vegetable broth, turmeric, and bay leaf. Raise heat to medium, bring to a boil, and lower to a simmer. Simmer for 10-15 minutes. 
      3. Take off the heat and cool.
      4. Using an immersion blender or blender, blend until smooth.
      5. Return to pan, turn on heat to med-low, and gently reheat. Add additional water to reach desired consistency. I needed to add about 1 cup. Taste soup. Adjust salt and pepper.
      6. For garnish, heat oil in a small pan, add cumin seeds, and fry about 30 seconds, until fragrant. Drizzle over soup.
      Fresh ingredients for tomato bruschetta

      Finished tomato bruschetta


      Tomato Bruschetta
      Bread
      about 1 pound roma tomatoes
      1 tablespoon olive oil, plus extra for drizzling bread
      2 teaspoons balsamic vinegar (optional)

      1/4 bunch of parsley, finely chopped
      2 cloves garlic
      salt and pepper (or in my case, chili flakes)
      1. To peel tomatoes: Slice an X on the bottom of the tomato (not the end that was attached to the plant). Bring a pot of water to a boil, remove from heat, drop in tomatoes for 60 seconds, remove from water, and immediately rinse with cold water. Use fingers or paring knife to peel skin.
      2. Slice tomatoes in half, scoop out seeds, cut out stem portion. Dice tomatoes and place in a bowl.
      3. Mince garlic or use a grater or micro-plane. Add to tomatoes.
      4. Add parsley.
      5. Mix tomatoes, garlic, and parsley with olive oil, vinegar, plenty of salt, and black pepper (or chili flakes).
      6. To toast bread: Preheat oven to 450 degrees Fahrenheit. Slice bread, drizzle olive oil on one side, place bread olive oil side down on a baking sheet, and bake 5-7 minutes. Don't forget the bread!
      7. Spoon some of the tomato mixture onto the toasted bread. Enjoy!

      Price Breakdown: Creamy Garbanzo Soup
      .14 olive oil
      .58 garbanzo beans
      .50 vegetable broth 
      .10 garlic
      .05 carrot (.99/pound)
      .10 onion (.48/pound)
      .05 (a guess) bay leaf, turmeric, cumin seeds, salt and pepper

      Total: $1.52 or $.76 per bowl

      Tomato Bruschetta (about 5 pieces)
      .30 bread (on sale for 1.00)
      1.10 roma tomatoes
      .06 garlic
      .15 olive oil
      .05 balsamic
      .12 parsley

      Total: $1.78 or .356/piece

      My dinner (soup + 3 pieces bruschetta -just being honest): $1.83
      A little on the pricey side for us but it tasted gourmet and was well-worth it. Enjoy!

      Saturday, November 27, 2010

      Pan Roasted Brussel Sprouts

      Fresh brussel sprouts, straight from the refrigerator

      Cleaned and cut

      Happy little brussels roasting in olive oil with black pepper
      Brussel sprouts appeal to me in many ways: the way they look - they're small, round, and green - the way they grow - they grow on a stalk! - and most of all, the way they taste. Growing up, my family was definitely all about the meat and potatoes but we always had to have vegetables at dinner. My dad's favorites were spinach and brussel sprouts so we had those frequently. Even though they entered the house frozen and were reheated by being boiled, I grew to love brussel sprouts. I have to accept this, my parents didn't know any better. When I finally tried fresh brussel sprouts for the first time, my life was never the same (I have also come to accept that enjoying good food is a more dramatic experience for myself than it is for other people). Z and I made balsamic-glazed brussel sprouts and red onions with Z's delicious yellow rice. It was the sexiest dish we ever made. When I find the picture, I will share. I will also share the recipe for balsamic-glazed brussel sprouts because I think I have referenced it only a million times. What I am trying to get at is try fresh brussel sprouts, especially pan-roasted brussel sprouts. There is something about being lovingly coated in olive oil and being caramelized that makes magic happen. Some folks like to roast brussel sprouts in an oven. This works, too. Cooking them on the stove-top is still my first choice.

      P.S. I haven't tried this recipe in a non-stick pan. I have always used Z's heavy metal pans. They hold the heat really well and I know I can get some browning or caramelizing to take place in these pans. I don't know that I would get the same result in my non-stick. Whatever you have, use! You're still cooking yummy vegetables at home, you can't go wrong with that! Also, I add some of the black pepper to the pan as the brussel sprouts are browning because I think pepper tastes a little                                                                                        different when it's been cooked but you season                                                                                        them the way you like.

      Pan Roasted Brussel Sprouts

      Fresh brussel sprouts
      Olive oil
      Peeled and chopped garlic (optional) and however much you like (I think the more the merrier)
      Salt and pepper to taste
      Chili flakes or a dash of cayenne if you like a little heat

      1. Prepare fresh brussel sprouts by washing the outside, if you so desire. Make sure they are dry when you cook. When shopping for brussel sprouts, I prefer the smaller brussels and I like to get them all as close to the same size as possible. I like to peel off the outer layer of leaves. This can be time consuming but it's what I like to do. Cut off stem. Cut brussel sprouts in half. To keep everything relatively the same size, I slice the great big brussels into thirds.
      2. Heat a few tablespoons of olive oil in a heavy skillet over medium heat.
      3. Place the brussel sprouts cut side down in the hot oil. I suggest tongs. Turn the heat down slightly.
      4. Cook until browned to desired color, turn over (tongs work great), and turn down the heat a little.
      5. When almost done cooking and the pan isn't so hot it will brown the garlic, add the salt and garlic. 
      6. When finished cooking, season to taste with salt, pepper, and chili. Enjoy!

      Saturday, November 13, 2010

      Millet Salad

      Ahhh, millet salad. I love it! It's simple, fresh, and reminds me of my little home. Combining some grain with vegetables and a light vinaigrette is not too original but I came up with my millet salad all on my own. My favorite veggies to add to my millet salad were on sale this week so I thought it was the perfect time for millet salad.

      Let's talk a little about millet. First of all, millet tastes good. It has a very mild taste that's slightly nutty. Secondly, millet is super cheap, at least in part of the world. I haven't bought some in months but in the spring I think it was $.42/pound at Winco and $.72/pound at Fred Meyer. A pound of millet goes a long way. I think of millet as a great foray into exploring grains (or in this case, that may be unusual to you. I think it's a great starter grain because the taste is approachable and it's quick cooking compared to some grains. I had always seen millet in the bulk sections I frequent and was curious about it but never bought any until last spring and fell in love. I was reading an autobiography, The Bandit Queen of India: An Indian Woman's Amazing Journey from Peasant to International Legend by Phoolan Devi, Marie-Therese Cuny, and Paul Rambali. Very powerful but for our purposes here I won't digress but say read it. Phoolan and her family grew and ate lots of millet. I was curious about all this millet so I did a little research. The only thing I knew about millet at the time was that millet was mostly considered bird food in the states. Turns out, millet is a major food source for some parts of the world. So I don't know that much more but that opened my eyes. I asked one of my friends who had recently discovered they were allergic to gluten and were exploring lots of grains about millet. Turns out, they really enjoyed millet! She used it cooked and also ground as a flour. The next time I went to the store, I got myself some millet. I had no idea what to do with it. Millet salad was the creation!

      This is one of the recipes that you can vary the filling according to what's in season, on sale, or what you like. I kept this one pretty simple. Okay, I forgot the beans. I lost my mind and wasn't thinking. What I was probably thinking was that spinach was on sale and I was going to eat my millet salad on a bed of spinach and was distracted. I have made millet salad with fresh grilled corn and grilled anaheim peppers. Bell peppers are a great addition, as are navy beans or garbanzo beans, avocado, cilantro instead of parsley, carrots, radish, and scallions. I speak from experience, I've made millet salad with all of those things.

      I have a big, fat secret for using raw onions and other pungent ingredients in something like a salad. It's such a secret that I only found out about it by making someone else's recipe that's posted on the internet. Okay, it's not a secret and it's not my idea. But it's brilliant! I love The Choosy Beggars and love their recipe for Sweet Potato and Navel Orange Salad. Make it! They make the dressing and let the onions, garlic, and jalapeno sit in the dressing for at least a half-hour. The acid works magic on these things and they come out milder and won't overpower the other ingredients, especially the onion. It's crunchy and delightful! In the case of my millet salad, I put a couple tablespoons of rice vinegar in the bowl and threw in the diced onion, garlic, and jalapeno. I feel so strongly about this that I daydream about serving my onions to Scott Conant on the Food Network show, Chopped. Whenever he is served raw onions, he has a fit. I get it, raw onions aren't everyone's favorite thing. I happen to love raw red onion and think this marinated onion would win him over.

      Onto the recipe. I like my millet al dente for this recipe. I cracked the lid,  more than just a little. I think 15-17 minutes works for the cooking time. With this, babysit the pan and keep trying it until it's the texture you like. After it's cooked, I take the lid off, and place the pan on a cool burner, stirring occasionally to release some of the heat while evaporating the remaining water. When I made the vinaigrette, I just added enough lemon juice until the salad reached the moisture level and tartness I wanted. I used bottled lemon juice which isn't as strong tasting as fresh lemon so I could add a lot more. If using fresh citrus juice, always zest the fruit first and add that to the salad. You're getting the most bang for your pennies. Here's the recipe for this week's version of millet salad. I didn't put amounts of anything because I would change it according to how much each item was on sale that week. What can I say? I'm cheap. Enjoy!

      Millet Salad

      2 cups millet
      3 1/2 cups water
      lemon juice, to taste
      2-3 tablespoons olive oil
      vinegar (rice vinegar or white vinegar)
      onion
      garlic (minced finally or grated)
      jalapeno
      cucumber
      tomato
      parsley
      salt and pepper, to taste
      dash cayenne

      1. Cook millet with the water, between 15-20 minutes, depending on desired texture. Less time = more crunchy. Crack the lid on the pot to let steam escape. After cooked, remove from burner, take off lid, and let cool.
      2. While millet is cooking, prepare onion, garlic, and jalapeno. Put in dish with two tablespoons or so of vinegar and let marinate.
      3. Combine cooled millet with marinating vegetables, olive oil, and remaining ingredients. May be served immediately or allowed to sit before serving.

      Wednesday, October 6, 2010

      Cheesy Tomatoes


      I am so obsessed with the $0.59/pound tomatoes in Corvallis that the Garlic Soup recipe will have to wait. The Garlic Soup was so incredibly amazing that it deserves my undivided and loving attention. I went back and looked through my recipes and did find a couple of tomato recipes that I hadn't tried yet. Cheesy Tomatoes is one of these recipes. It was a great addition to my garlic soup lunch. Pre.-P.S. That weird looking rectangle next to the tomatoes is a piece of the French bread I used in the Garlic Soup with dijon mustard spread on it.

      I sliced my tomatoes about 1 inch thick and placed them on a cookie sheet sprayed with nonstick spray. If you look at my picture, it looks like something had some sort of accident underneath my tomatoes. I don't have any cookie spray so I poured some olive oil on my cookie sheet. When seasoning tomatoes with salt, use ENOUGH! Tomatoes need a fair amount of salt. When tomatoes are seasoned with the right amount of salt, something magical happens. By magical, I mean they taste even better. Here is my recipe for Cheesy Tomatoes. Enjoy!

      Cheesy Tomatoes
      tomatoes
      grated cheese
      salt and pepper
      Italian seasoning
      dried red chili flakes

      1. Preheat oven to 450 degrees.
      2. Slice tomatoes into about 1 inch slices and place on greased baking sheet.
      3. Top tomato slices with grated cheese. Season with Italian seasoning, dried red chili flakes, salt, and pepper. Plenty of salt!!!
      4. Bake for 10-12 minutes, for tomatoes that are cooked but still have some bit. 15 minutes for very tender tomatoes.

      Saturday, September 25, 2010

      More Adventures with Hummus

      Ninja: The coolest kitchen appliance ever!

      I know I have already shared a hummus recipe (Hummus!) Redundancy is not unusual with me. If you can't handle repetition, never ever ask me to tell a story. I have a serious problem repeating myself and telling you the same story over and over again. With food, I love figuring out lots of different ways to use the same basic ingredients or make the same dish taste different. I love my hummus recipe but we had some ideas we have been wanting to try. What would happen if we cooked the garbanzos first? It's amazing!

      We rinsed and drained the garbanzos and added them to a small pot with a fair amount of olive oil and some garlic and cooked it over low for awhile. The beans will release some water so leave the lid off the pot. We let everything cool down before we made the hummus. I always add olive oil and lemon juice to taste and until the it reaches the consistency that we like. Don't forget, lots of black pepper. This new version of hummus was extremely smooth, nutty, and tasted the most like hummus from the store. Enjoy!