Pages

Monday, June 27, 2011

fruit crisp


I am on a mission to become a better cook and that sometimes mean experimenting and trying out new recipes. Even though I make some dumb mistakes sometimes (like over-baking cookies!), I still want to share what is going on in my little kitchen.

This is where Cobbler Attempt #1 comes in. When having guests over for dinner, I prefer to make a baked desert. One, this means I will not be eating a whole desert by myself and two, baked goods are warm and inviting. Z. and I had another couple over for dinner the other night. Z. made his super yummy yakisoba and I tried contributing an apple cobbler.

I think it is time to expand my horizons. I have made my fair share of fruit crisps but never a cobbler. The only difference I can tell between a cobbler and a crisp is the topping. Cobblers have more of a biscuit or pie-type crust and a crisp has a crumbly topping.

My first try at a cobbler turned out alright, I learned a few things about making a cobbler crust and encountered a few questions but first the recipe I used this time.

Apple Cobbler, adapted from The Cobbler Crusade by Irene Ritter

Filling (or the bottom layer):

2 to 3 apples, peeled and sliced
3 tablespoons sugar
1/2 teaspoon cinnamon
pinch of salt
1/2 cup warm water or apple juice
1 tablespoon corn starch
1 tablespoon canola oil or butter cut into small pieces

Biscuit Crust:

1-1/2 cups all-purpose flour or a combination of all-purpose flour and whole wheat flour
2 teaspoons baking powder
1/4 cup granulated sugar
1/2 teaspoon cinnamon
1/4 teaspoon salt
1/4 cup canola oil (if using oil, may need 1-2 tablespoons water) or 1/2 cup milk (suggested)
  1. Preheat oven to 425 degrees Fahrenheit and spray a 9-inch square baking dish with non-stick spray.
  2. In a large bowl, combine the sliced apples, sugar, cinnamon, and salt. Make sure apples are thoroughly coated. Pour apples into prepared baking dish. Set aside.
  3. In a small bowl combine 1/2 cup warm water or apple juice with 1 tablespoon cornstarch. Mix thoroughly. Pour into baking dish with apples.
  4. Drizzle oil over top of apples or scatter pieces of butter over apples. Set aside.
  5. In another large mixing bowl, combine all the crust ingredients until well mixed.
  6. Spoon dough on top of apple filling, covering the apples.
  7. Bake 20 to 25 minutes, until crust is done. Serve warm or room temperature.
Apples!
Filling ingredients minus cornstarch and water
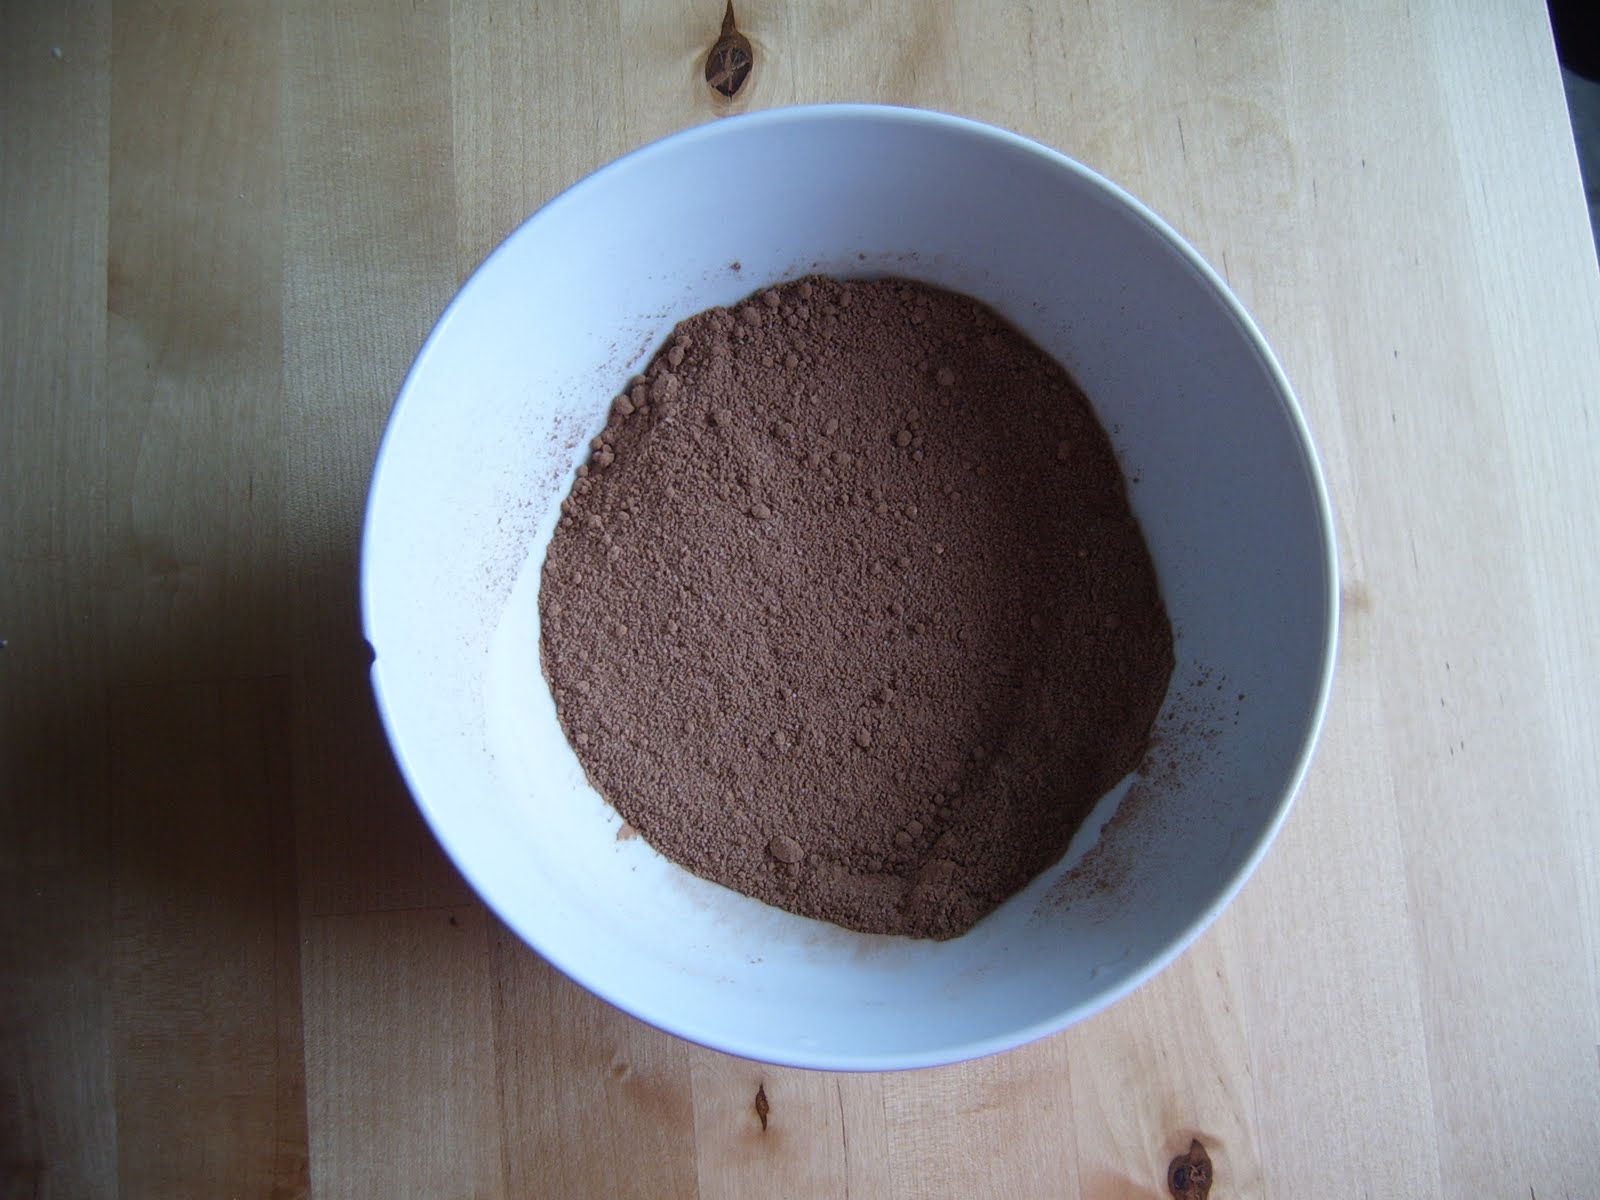
Whole-wheat flour (left) and all-purpose flour (right)
The rest of the topping ingredients

Changes I will be making to Cobbler #2:
  • As I was eating my cobbler, I was pondering how nice thick slices of apple would have been. I realized when making a fruit crisp I have always cut my apples or pears very thin and peaches rather thickly to enjoy their succulent flesh. Why not cut thick slices of apple?
  • I used equal parts all-purpose flour and whole-wheat flour. The recipe I was using told me to look for a golden topping but in my experience, whole-wheat flour does not change color the same way white flour does. I could have taken the cobbler out of the oven after 20 minutes and had a lovely and fully cooked beige topping. Alas, I second-guessed myself and left the cobbler in the oven for 4 more minutes. The crust was fine, just not as perfect as I would have liked but the next day, I did not notice the over-doneness at all when eating the leftovers.
  • The Cobbler Crusade said I could use 1/4 canola oil to bind the topping ingredients together. Great because I did not have milk! The mixture was very dry and not clumping so in a slight panic I added 1-2 tablespoons of water. I will have to investigate this further but I do know that the milk would help make a flakier crust. There are pros and cons to both.
  • I am a dork and made the crust completely even. When the recipe mentioned creating a cobblestone effect with the dough, I got a little lost. I have seen cobblers before and happily eaten them but are those separate islands of biscuit the cobblestone effect?
  • Any tips or suggestions to aid me in my own cobbler crusade?

    Wednesday, June 22, 2011

    Ace's Adventures with...Granola

    I have been researching making homemade granola for quite some time now but thinking once I start adding nuts, seeds, and dried fruit, my cheap recipe will no longer pass the Cheap not Frugal Eats test of cheapness. Making granola seems so easy that I finally bit the bullet and made my own. In passing, Z. said he would prefer the loose granola to the clumpy granola so I went with the loose grains. I was surprised at how tasty my homemade granola turned out. I started my granola adventures with a very plain granola without any nuts, seeds, fruit, or anything extra to see if I would actually like the simplest version, first. Here is what I learned making my first batch of granola:
    • Most of the recipes I found called for baking the granola at 300 degrees Fahrenheit for one hour, stirring every twenty minutes. This recipe for granola called for an oven temperature 300 degrees, also, but had a total baking time of 37 minutes. I cooked my granola for 40 minutes, stirred occasionally, and it was slightly burnt. Next time I plan on a cooking time of about 35 minutes and I will stir my granola every 15 minutes or so. I am pretty sure that the granola will still come out cooked and crunchy when cooled after 35 minutes. Maybe the recipes that cook longer, are also recipes that use water. I could not wrap my brain around the idea of adding water to grains and then baking them to dry them out. Then again, those granola-makers may be on to something.
    • I did not want a product that was too sweet so I used slightly less than 1/4 cup honey. Using honey does raise the cost of making the granola. I thought I would taste more of the honey flavor in the finished dish than I did. Next time, I might try 3/8 cup (1/4 cup plus 1/8 cup) brown sugar mixed with enough water, about 1-2 tablespoons, to make a thick paste.
    • I used 1/2 teaspoon of cinnamon. That small amount was enough to make the apartment smell delicious while baking but was not enough to spice the granola.
    • I really like the idea that I can use any combination of grains I want when making my own granola. This time I used old-fashioned oats, rye flakes, and barley flakes. The bulk sections at a couple of my local grocery stores, especially the bulk section at the Market of Choice, has a wide variety of rolled grains, including oats, rye, spelt, barley, quinoa, and wheat. 
    From the top: Barley flakes, rye flakes, old-fashioned oatmeal


    Granola waiting to go into the oven

    Here is the recipe I used for my first adventure with granola. Enjoy!

    Granola

    3 cups rolled grains, could be all oats, or a combination of any rolled grain like oats, barley, rye, etc.
    1/4-1/2 cup honey or brown sugar moistened with enough water to make a paste
    1/4 cup canola oil
    1/2 teaspoon salt
    1/2 teaspoon cinnamon

    Preheat the oven to 300 degrees Fahrenheit. Spray a baking sheet with non-stick cooking spray or line with parchment paper. Set aside. Mix the grains with the salt and cinnamon. Add the honey and oil to the grains and mix thoroughly. Spread the granola in a single layer on the prepared baking sheet. Bake for 30-35 minutes, stirring every 10 minutes. Once baked, remove from oven and allow to cool on baking sheet. When cool, transfer to an air-tight container. Store in the refrigerator or freezer to preserve freshness.

    Monday, June 13, 2011

    Recipe Review: Fudgy Meringue Cookies

    Source: Bon Appétit, March 2011 


    Before I get to the results of this recipe, I have to share a little of my feelings towards baking cookies. Z.'s mom and grandma make two totally different chocolate chip cookies that are the best chocolate chips cookies in the whole world and on top of that, Z.'s grandma also makes an amazing plain cookie, her own invention, similar to a shortbread cookie. I have no hope and no desire to compete. Even if I learned how to make a cookie like these lovely ladies, my cookie would still not be good enough simply because my cookie was not made with their hands.The best my humble chocolate chip cookie could hope for would be, "These are alright, I guess... I am a connoisseur of the chocolate chip cookie, after all. What I know? I only have the best chocolate chip cookies at my disposal..." and on and on. I would never hear the end of how my cookies did not measure up to Z.'s cookie standards. Let's not mince works: Z. will be as obnoxious as possible in letting me know how my chocolate cookies have failed. If I want to bake cookies, I need to find and try new recipes that are not chocolate chip cookies.

    The photograph of this cookie had me instantly hooked. Then, I read the recipe and it passed the Cheap Not Frugal Eats test: How much are the ingredients going to cost Z. and are the ingredients in the pantry? Hmmm...Pass!

    Sometimes my cooking attempts at recipes fail, luckily they are still edible...most of the time. My first attempt at Fudgy Meringue Cookies is what I call a learning opportunity. I did almost everything wrong, just to be sure it made a real difference in the finished product. I should clarify. I really, really thought these cookies sounded great, I had the ingredients but I did not follow the directions exactly. Imagine that! The directions really mattered when baking.

    Here is a rundown of the changes I made and the effects in the cookie:

    • The recipe calls for powdered sugar. I used regular, granulated sugar in its place. Chef Steph, Pastry Chef Extraordinaire, has told me that I can make my own powdered sugar in a food processor at home. I was being lazy and thought I would try granulated sugar. The granulated sugar was too heavy. Definitely use powdered sugar!
    • I only needed two large egg whites to make these cookies. I thought my eggs were large but once the two whites were in the bowl, it did not seem like much. At the time, I contemplated adding a third egg white. Next time, I might add a third egg white if it seems like my eggs are on the small side.I do not have an electric mixer so I used a whisk. I probably did not whisk the meringue enough nor reach the proper consistency. I will wait to make these cookies until I have an electric mixer.
    • I did not use the cream of tartar. I thought it would not be a big deal. I did a little more research and learned that cream of tartar helps stabilize egg whites, and increases their heat tolerance and volume. I do plan on trying this recipe again, it was so tasty. I should be able to purchase just a little from the bulk spice section at the Market of Choice. Even though it costs more, if I plan on using a small amount in one or two recipes, I like to get spices or additives from the bulk section.
    • I committed the ultimate cookie sin: I over-baked my cookies. I did follow the directions about the placement of the wire racks and switching the pans at the precise moment. The recipe says the cookies will be cracked and dry looking. My cookies were rather strange looking to begin with, once they were baking, I could not tell if they were done or not. I kept them in the oven a couple minutes too long.
    I thought these cookies were very tasty and if I had the correct ingredients and equipment, this would have been a great recipe. I will be making this again when I can follow the directions exactly.

    P.S. I may tease Z. incessantly and share some of his more charming moments but he makes me feel like the most special person in the whole wide world!

    Friday, June 10, 2011

    Yakisoba

    Z. and I try to always have the pantry stocked with a number of ingredients that can be used to create a quick meal. If we can make a reasonably healthy meal for less than a dollar speedily, it is hard to justify going out for french fries. One of these quick-meal ingredients are noodles from the Asian market. I am sure noodles like this can be found from the regular grocery store. These noodles are yummy and only take 4-5 minutes to cook. I would look for wheat noodles. Yes, it is impossible to remove words like "yummy" from my lexicon when speaking about food.

    I have to admit, I have never cooked this dish myself. Z. has always made yakisoba for us. Sometimes I chop the vegetables but in this case, Z. prepared everything. I am awfully spoiled! Stir-fry sauce works great in this dish but for something a little different that works just as well in stir-fry is hoisin sauce. Enjoy!
    White vinegar, hoisin, and soy sauce

    Hoisin Sauce, serves 2
    1 tablespoon hoisin sauce
    1 tablespoon vinegar, rice vinegar or white vinegar
    1/2-1 tablespoon soy sauce

    Mix ingredients in a small bowl or cup, set aside.


    Yakisoba
    vegetables, such as carrots, bell peppers, onion, baby corn, water chestnuts
    garlic, minded finely to taste
    noodles
    hoisin sauce or stir-fry sauce
    1. Begin by preparing all the vegetables and making the sauce, set aside.
    2. Cook noodles according to package directions. Under cook by one minute. The noodles can be cooked before starting the vegetables but I suggest cooking the noodles first.
    3. Heat 1 tablespoon canola oil in a large skillet or wok over medium heat. Add vegetables with the longest cooking time first. For example, start by cooking the onions 3-4 minutes stirring occasionally, then add carrots, peppers and any other vegetables for 2-4 minutes. Last I add any garlic or ginger and any vegetables that only need to be warmed through like baby corn or water chestnuts, cook 2-3 minutes more.
    4. Just before the vegetables are  completely cooked, add the cooked noodles to the pan, using a wood spoon or chop sticks, gently separate the noodles and combine them with the vegetables. 
    5. After the noodles are heated, about 1-2 minutes of cooking, add the sauce. Carefully coat the noodles and vegetables with the sauce cooking 1-2 minutes more. 
    6. Serve. If desired, garnish with sesame oil, sesame seeds, or cilantro. Get creative! Pickled peppers and radish work great, too.

    Wednesday, June 1, 2011

    Brown Lentil and Yellow Split Pea Dal


    This recipe is my attempt at recreating a delicious dal I had recently at Nirvana Indian Restaurant in Corvallis using ingredients I already had in my pantry. Before I get to my own dal, let me tell you a little about this restaurant. Nirvana is hands-down one of my favorite restaurants anywhere.

    Z. and I regularly treat ourselves to a meal at Nirvana every six or weeks or so. Our favorite server, and I think one of the managers, is always there to make us feel very welcomed and appreciated. Normally, we go for the lunch buffet. Some of the dishes that always remain as part of the buffet are pakoras, tandoori chicken, dal, naan, and rice. There is almost always saag, The other dishes change with an emphasis on vegetarian, carnivores will not be disappointed. I am sure I have tried every single dish offered including different chicken curries, vegetable and/or potato dishes, egg curry, and an endless number of legume recipes. They served a ground lamb dish as part of their New Year's Even dinner buffet that I absolutely loved. Z. looks forward to the pakoras the most and I cannot wait to dive into their saag, it is so light and creamy. We have gone to Nirvana for dinner, ordering off the menu, and been very pleased. I tried a lamb curry (yum!) and we shared aloo paratha, whole wheat bread stuffed with spiced potatoes and peas. Delicious!

    I have never had the same dal twice. I must say I have had the toor dal at Nirvana and Z.'s dal is just as good. Some day, I will feel ready to share that recipe. I particularly enjoyed the dal I ate during my last visit. The main attraction was brown lentils that were tender but still toothsome. There was a smaller proportion of yellow split peas, which must have had a chance to cook longer because they were mostly broken down. Fresh tomato added an acidity that cut through the brown lentils.

    My creation was delicious and very different from what I ate at the restaurant. I used tomato paste rather than fresh tomatoes. The flavor was great but the effect was unlike that provided by fresh tomatoes. I would like to add, I used tomato paste that I had measured into portions, wrapped in plastic wrap, and frozen a couple of months ago. Here is a picture of what was frozen. The tomato paste seemed to work great and none was wasted. If I were to use fresh tomatoes, I would use 3-4 roma tomatoes that I had de-seeded and chopped roughly. Add them after cooking the spices for 30 seconds or so and cook briefly, just until the tomatoes begin breaking down.

    The dal I had at Nirvana had lots of broth that had been thickened by broken down yellow split peas. When cooking my dal I added about 10 cups of liquid, or 1 can vegetable broth and 8 or so cups of water, which seemed like a huge amount. Once the pulses were cooked, my dal was not nearly as brothy as the restaurant dal. This does have advantages. I ate the dal like a soup the first day and as to be expected, much of the liquid was absorbed by the second day, when I ate the dal with rice. Enjoy!


    From the top: coriander, garam masala, curry powder, cumin seeds, turmeric
    Onions browning
    Tomato paste cooking

    Brown Lentil and Yellow Split Pea Dal

     2-3 tablespoons canola oil, more as needed
    1/2 cup yellow split peas
    1 cup brown lentils
    10 cups or more water, broth, or a combination
    1 onion, chopped
    1 serrano chile, seeded and minced finely
    5 cloves garlic, peeled and minced finely
    1/4 cup tomato paste
    1/2 teaspoon turmeric
    2 teaspoons cumin seeds or ground cumin
    2 teaspoons coriander seeds or 1 teaspoon ground coriander seed
    1 tablespoon curry powder
    2 teaspoons garam masala
    salt, to taste
    1. Heat 2-3 tablespoons canola oil in a soup pot over medium-low to medium heat. Adjust heat as needed while cooking to make sure the pot does not get too hot and the food burns. Add onions and season liberally with salt. Cook until brown and soft, about 20 minutes, stirring occasionally. Add more canola oil if needed.
    2. Add chile and garlic. Cook until soft, about 3-4 minutes.
    3. If the pan is dry, add a drizzle of oil, add spices to this oil, and let cook only 30 seconds to one minute.
    4. Add tomato paste, stirring frequently, cook 3-4 minutes.
    5. Add liquids and yellow split peas. Bring to a boil, lower the heat, and let simmer gently 25 minutes.
    6. Add brown lentils and cook until tender but still whole, 25-30 minutes. Taste and adjust salt. Garnish with cilantro if desired. Serve as a soup or with rice.